Homelab Part 3a: Physical set up part 1
Third post in a series about setting up a 'homelab'
This post will be relatively short, but I’ll share some updates and progress on the physical side of my homelab setup.
Rack Setup
I knew that I wanted to move away from stacking these mini PCs ontop of each other underneath my living room credenza, so I first took to eBay and craigslist. Searching for ‘server rack’ was almost entirely resulting in 19” enterprise-grade setups. I live in a San Francisco apartment and do not have the space - aesthetically or spatially - for a 19” server rack, so I eventually stumbled upon DeskPi and purchased a 12U server cabinet. This would allow me space for a network switch, patch panel, 7 mini PCs, and space for a power supply (more on that later).
For the actual trays themselves I found a seller on Etsy, Rackify, who sold 3d printed 10” rack mounts for my Dell OptiPlex Micro, my HP EliteDesk G3, and my exact TP-Link managed switch. These rack mounts are super sleek and fit perfectly in my DeskPi RackMate T2.
Rack Images
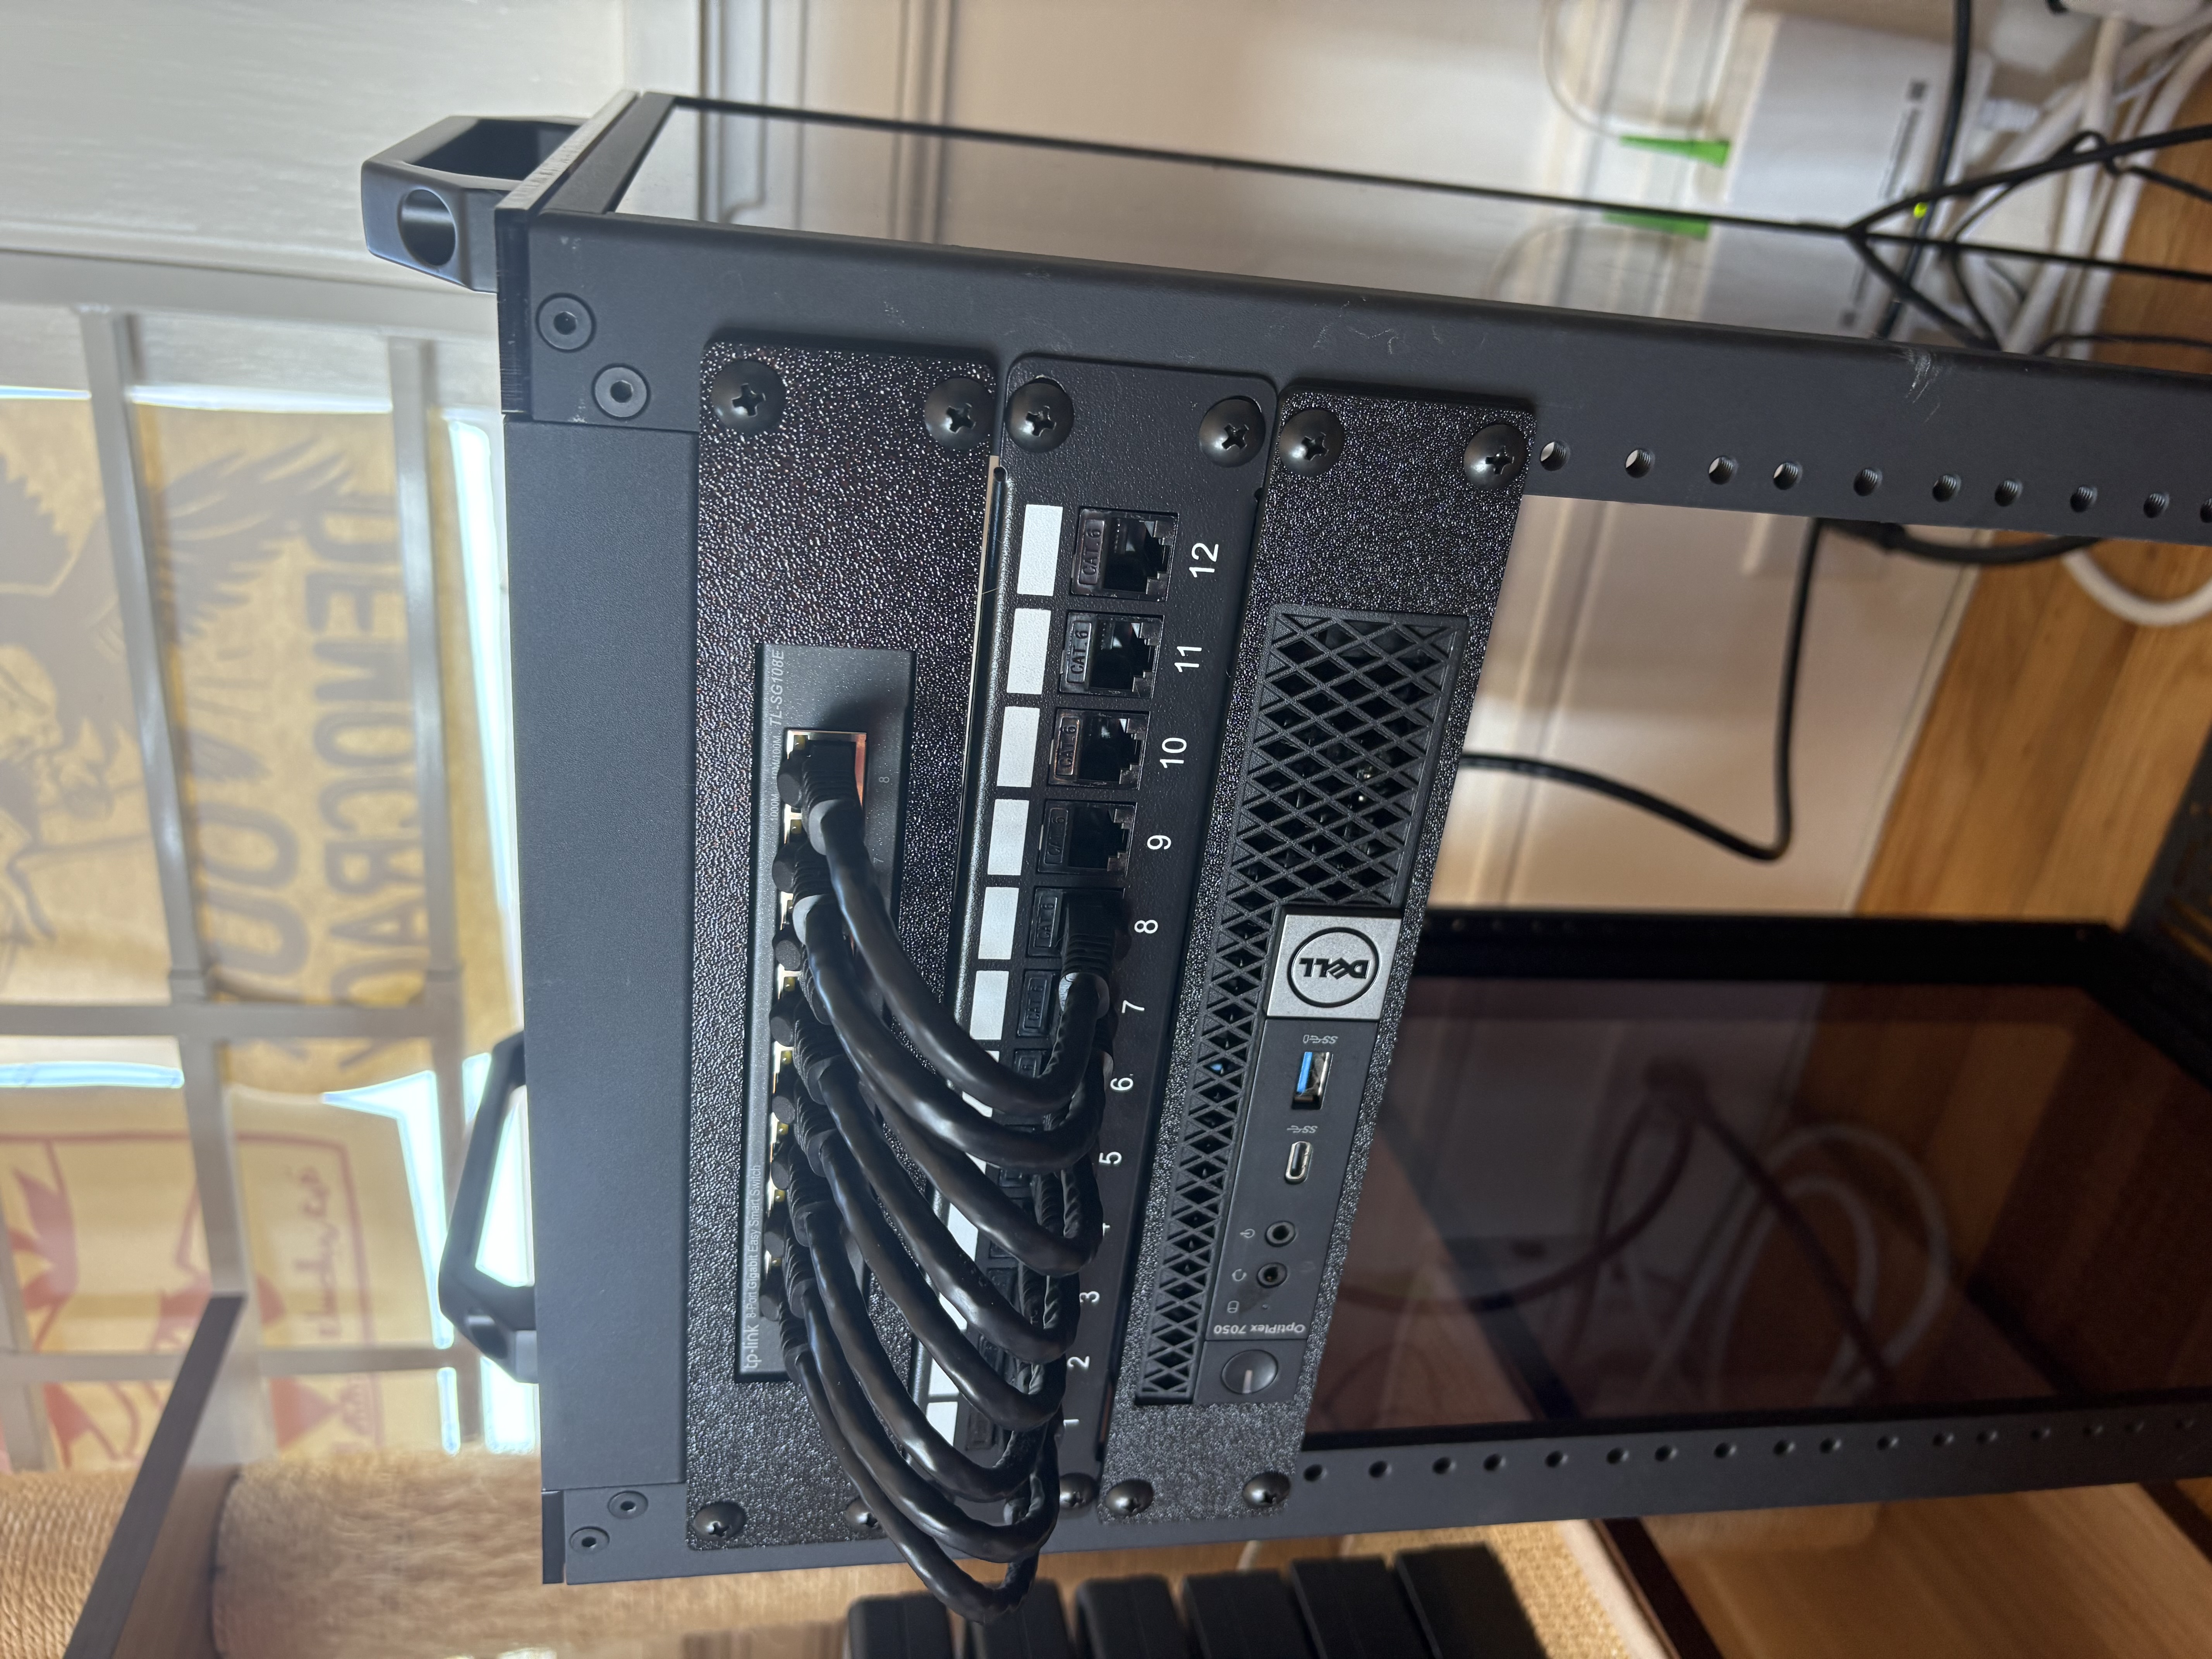
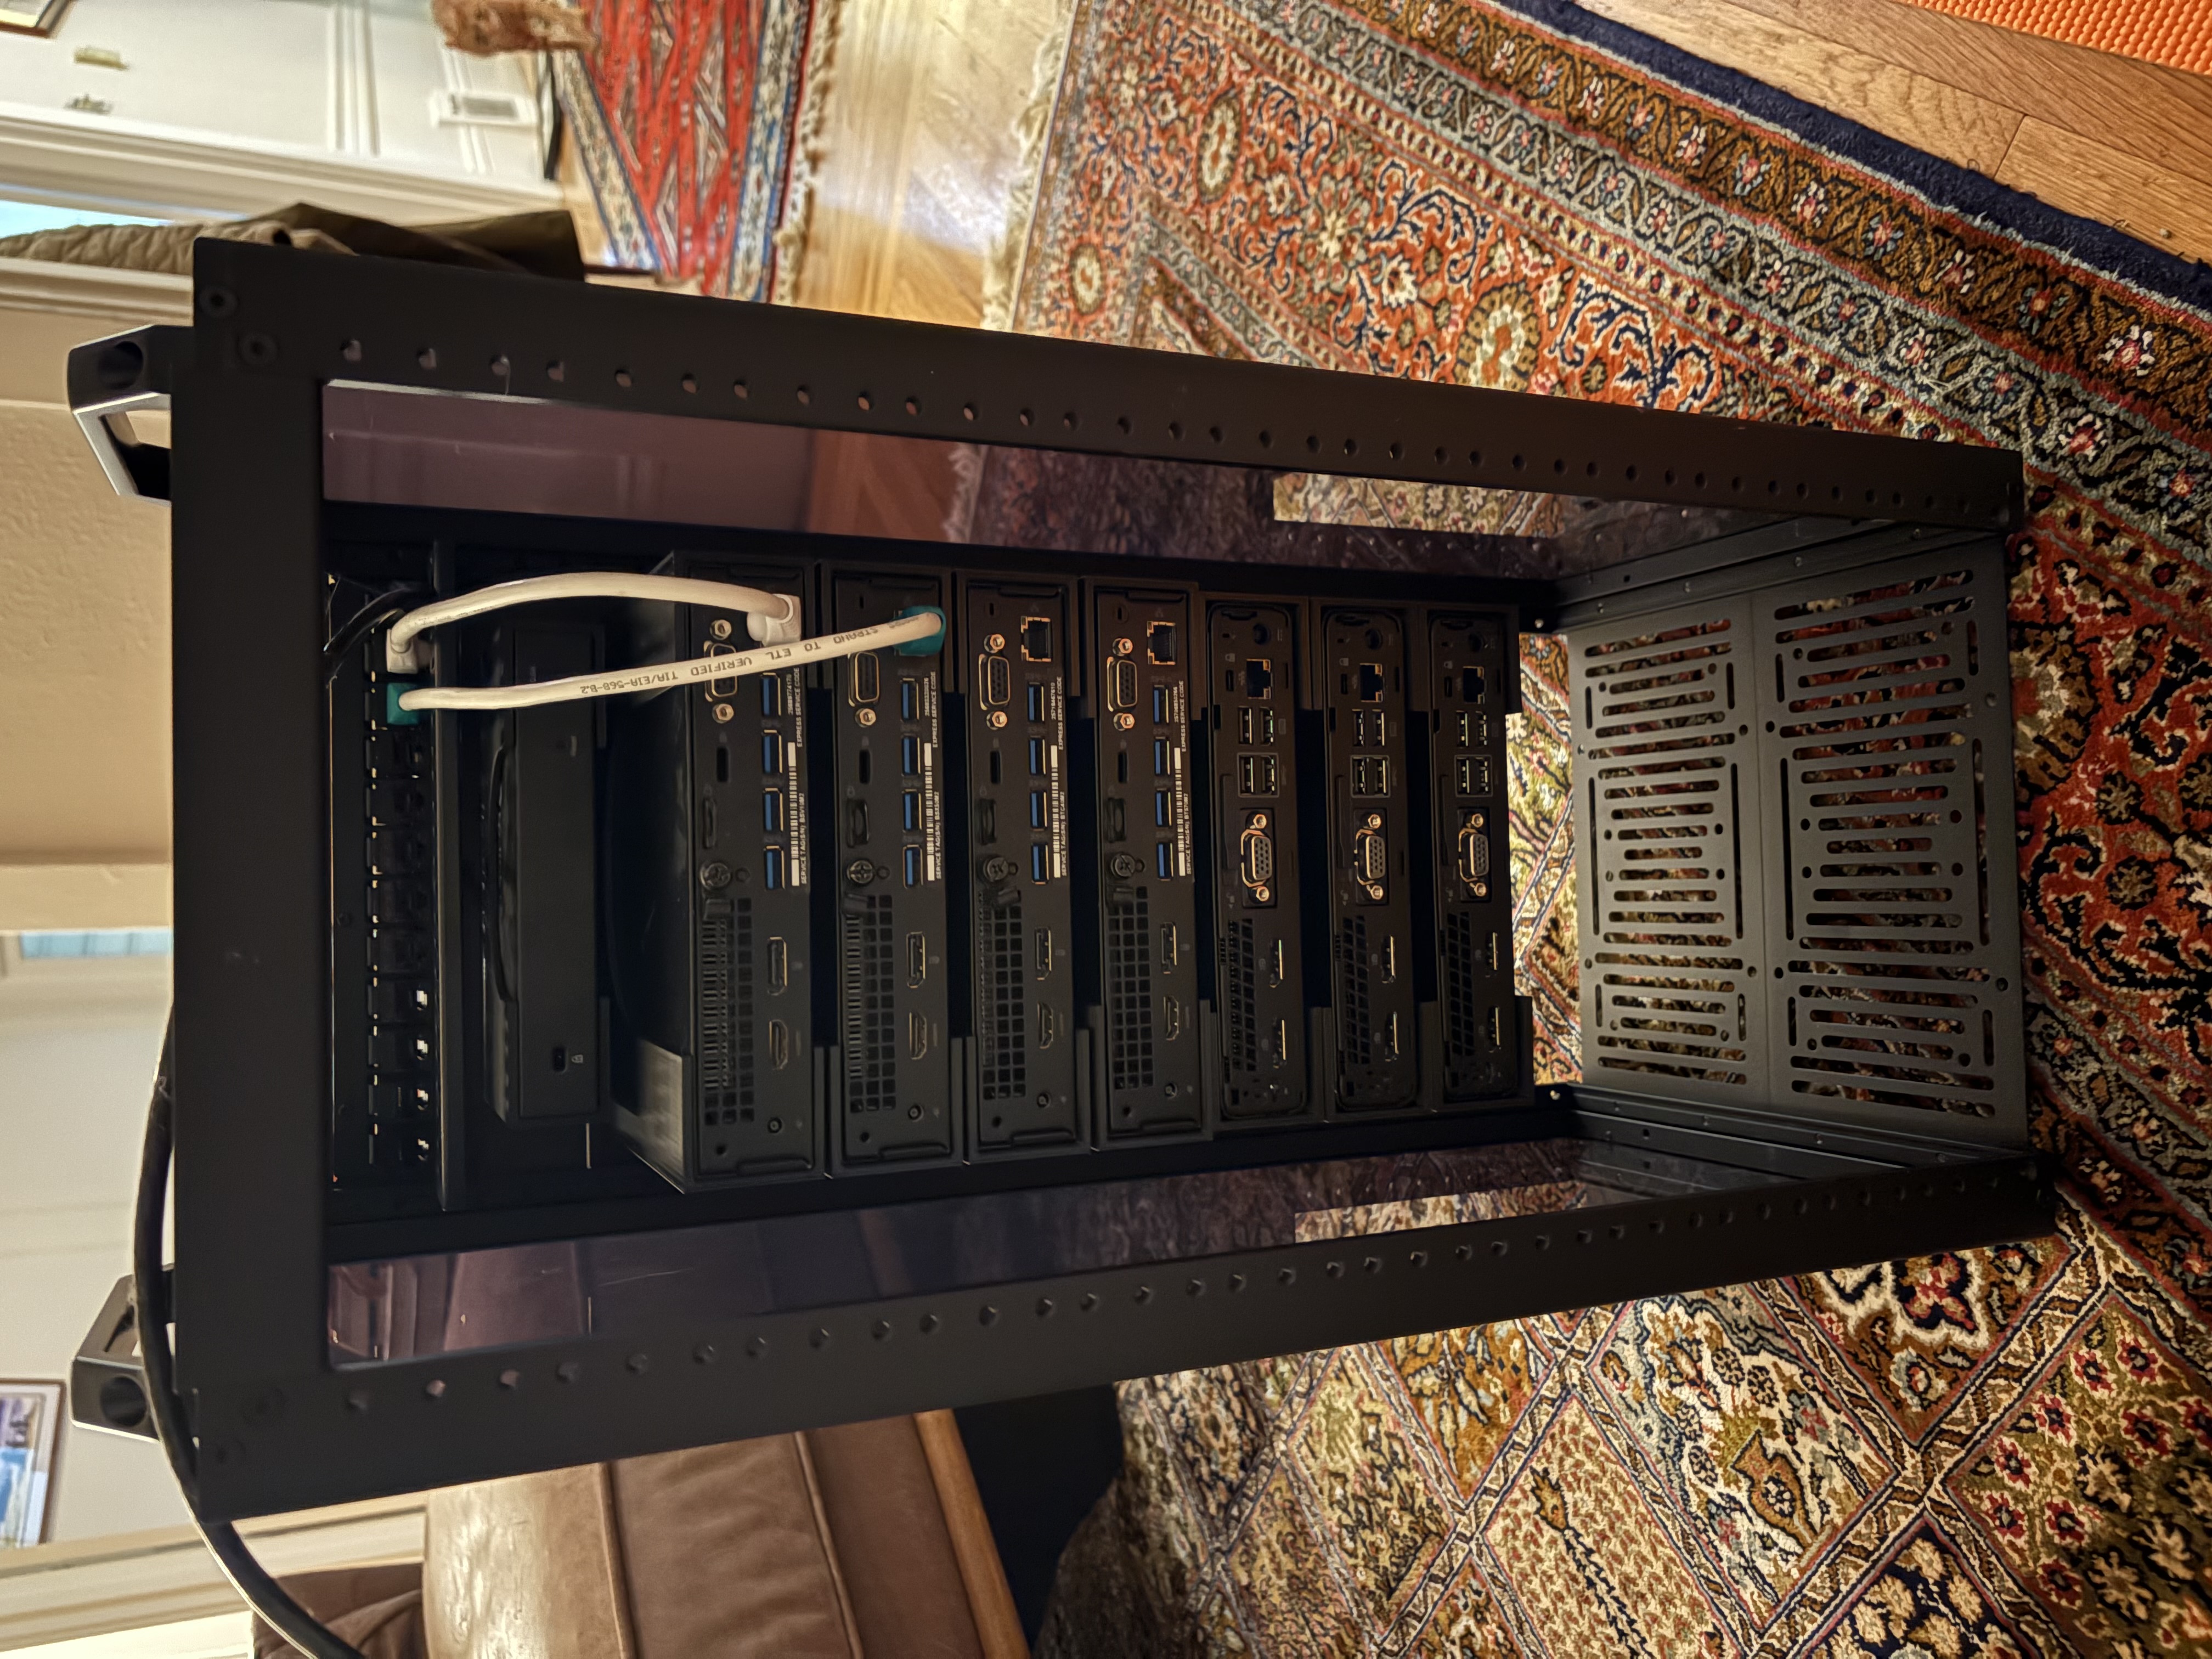
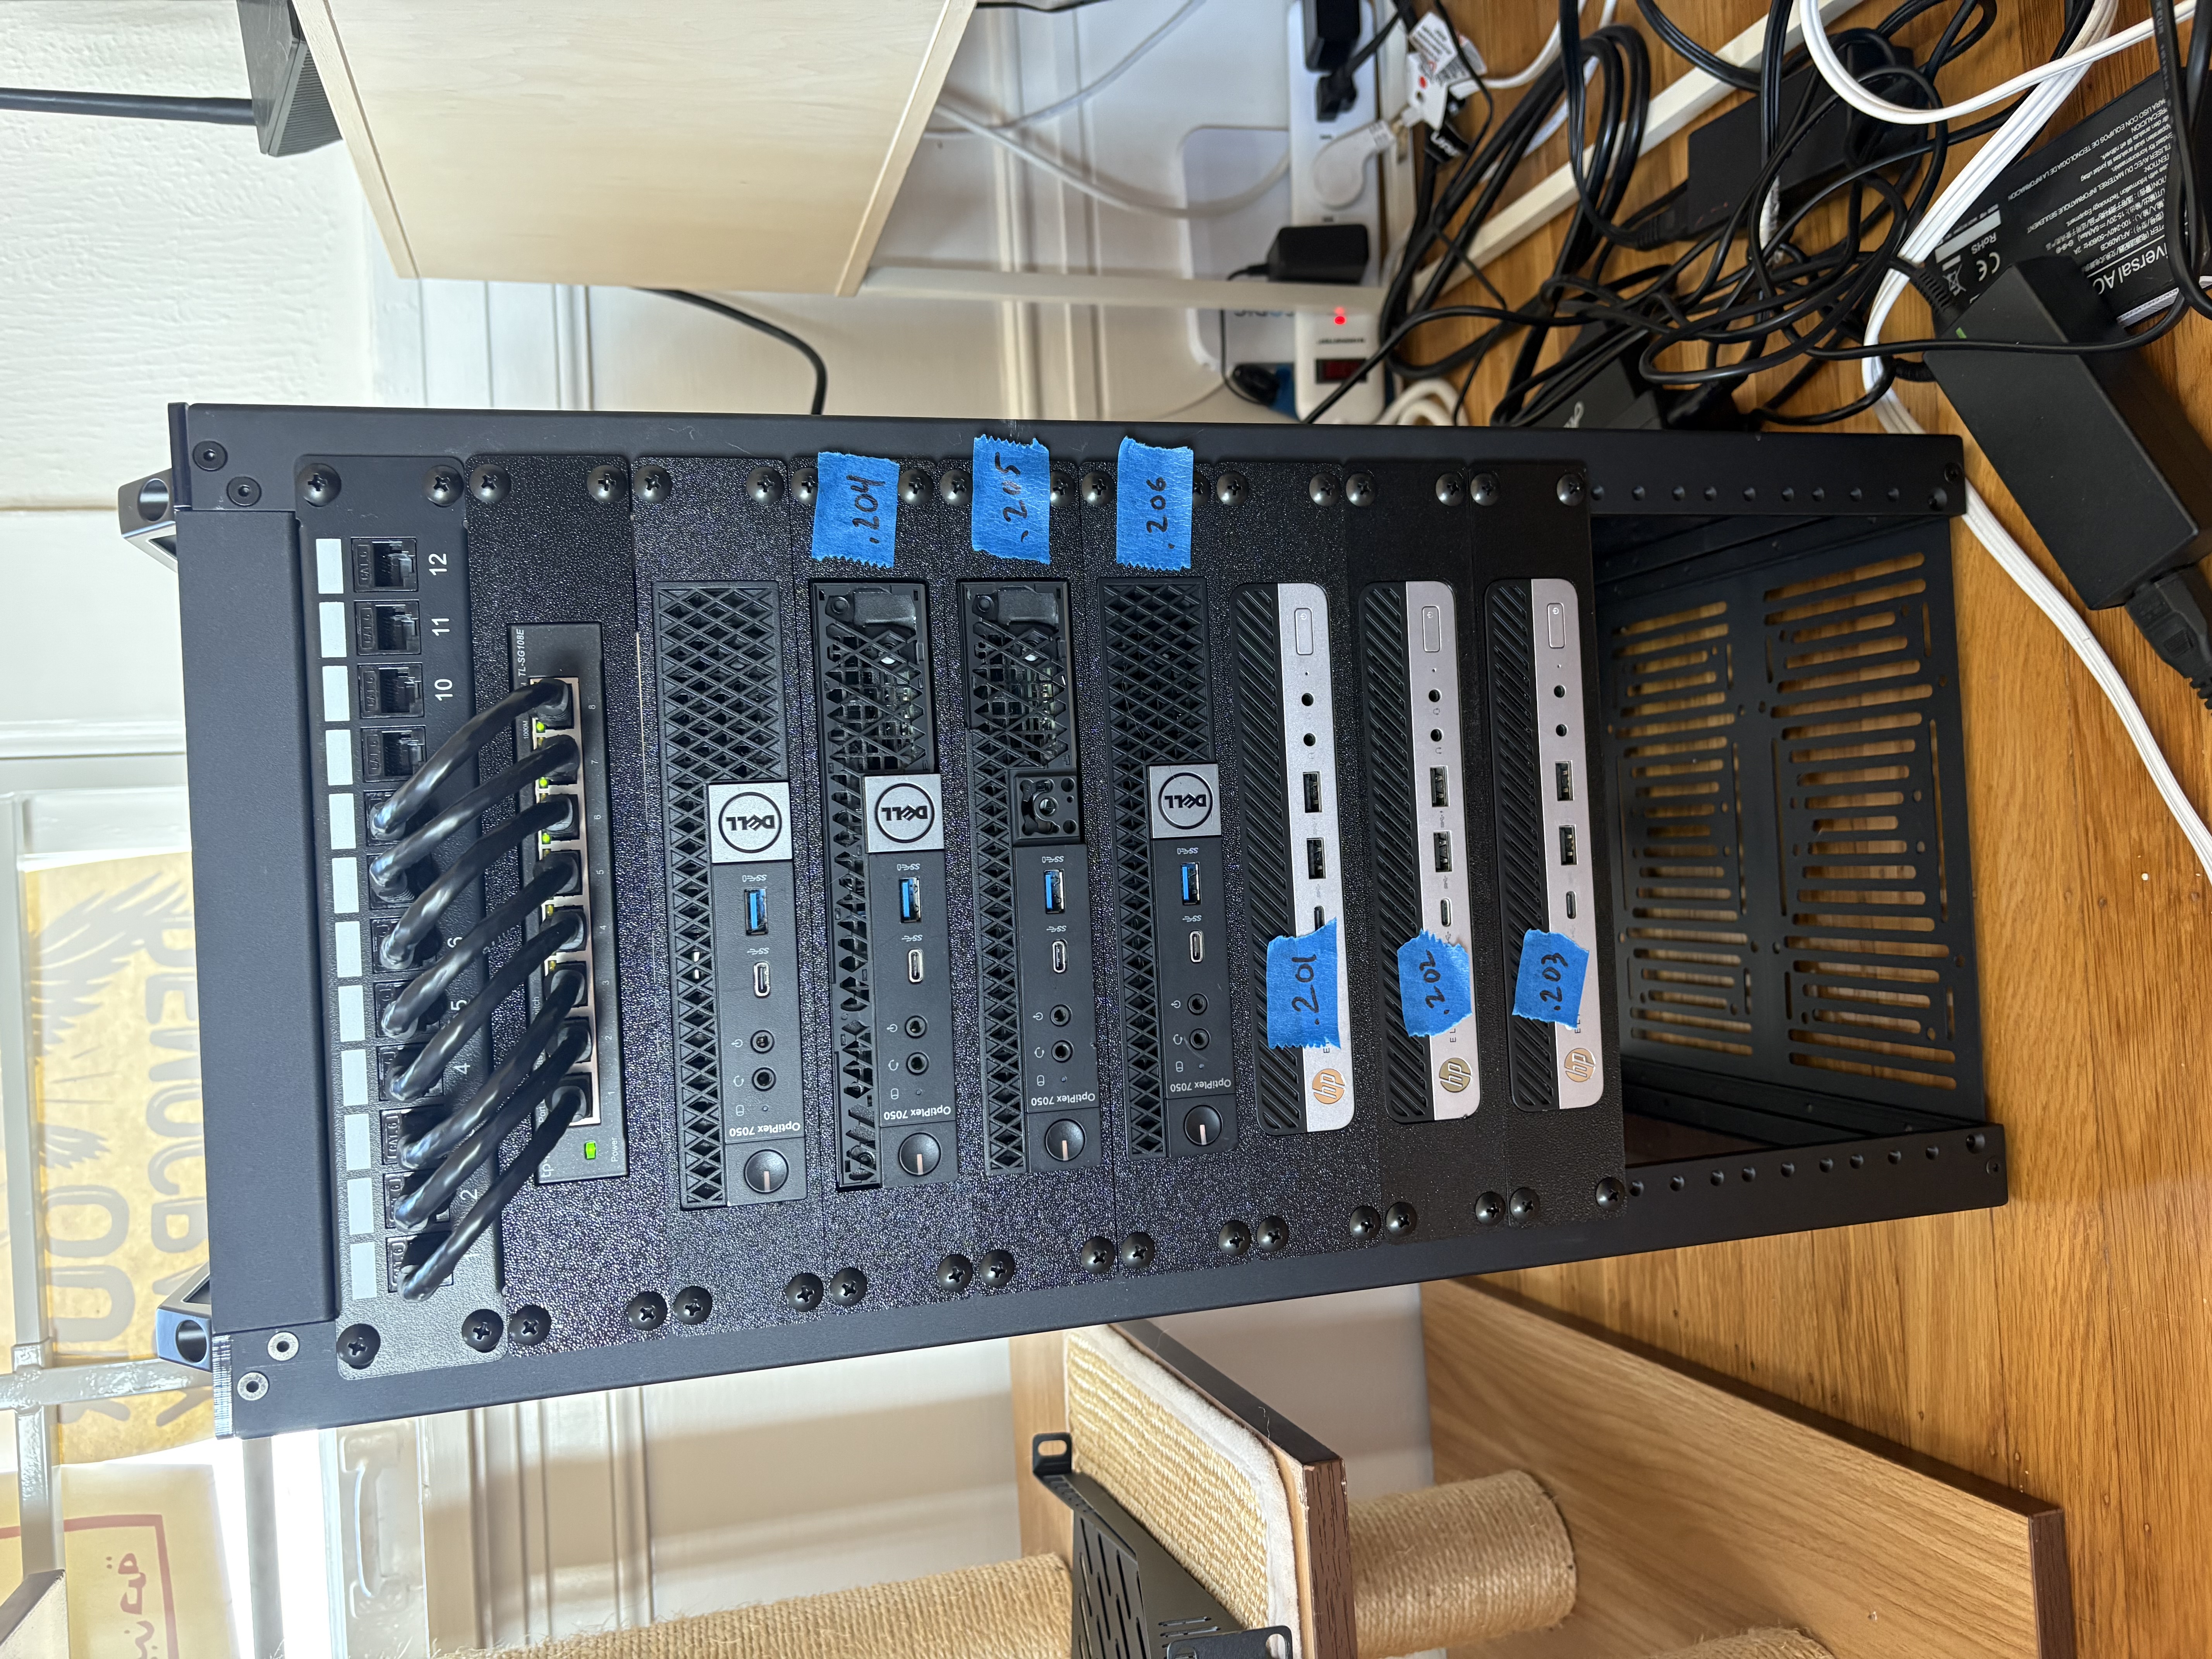
Beginnings of rack setup, awaiting more mounts
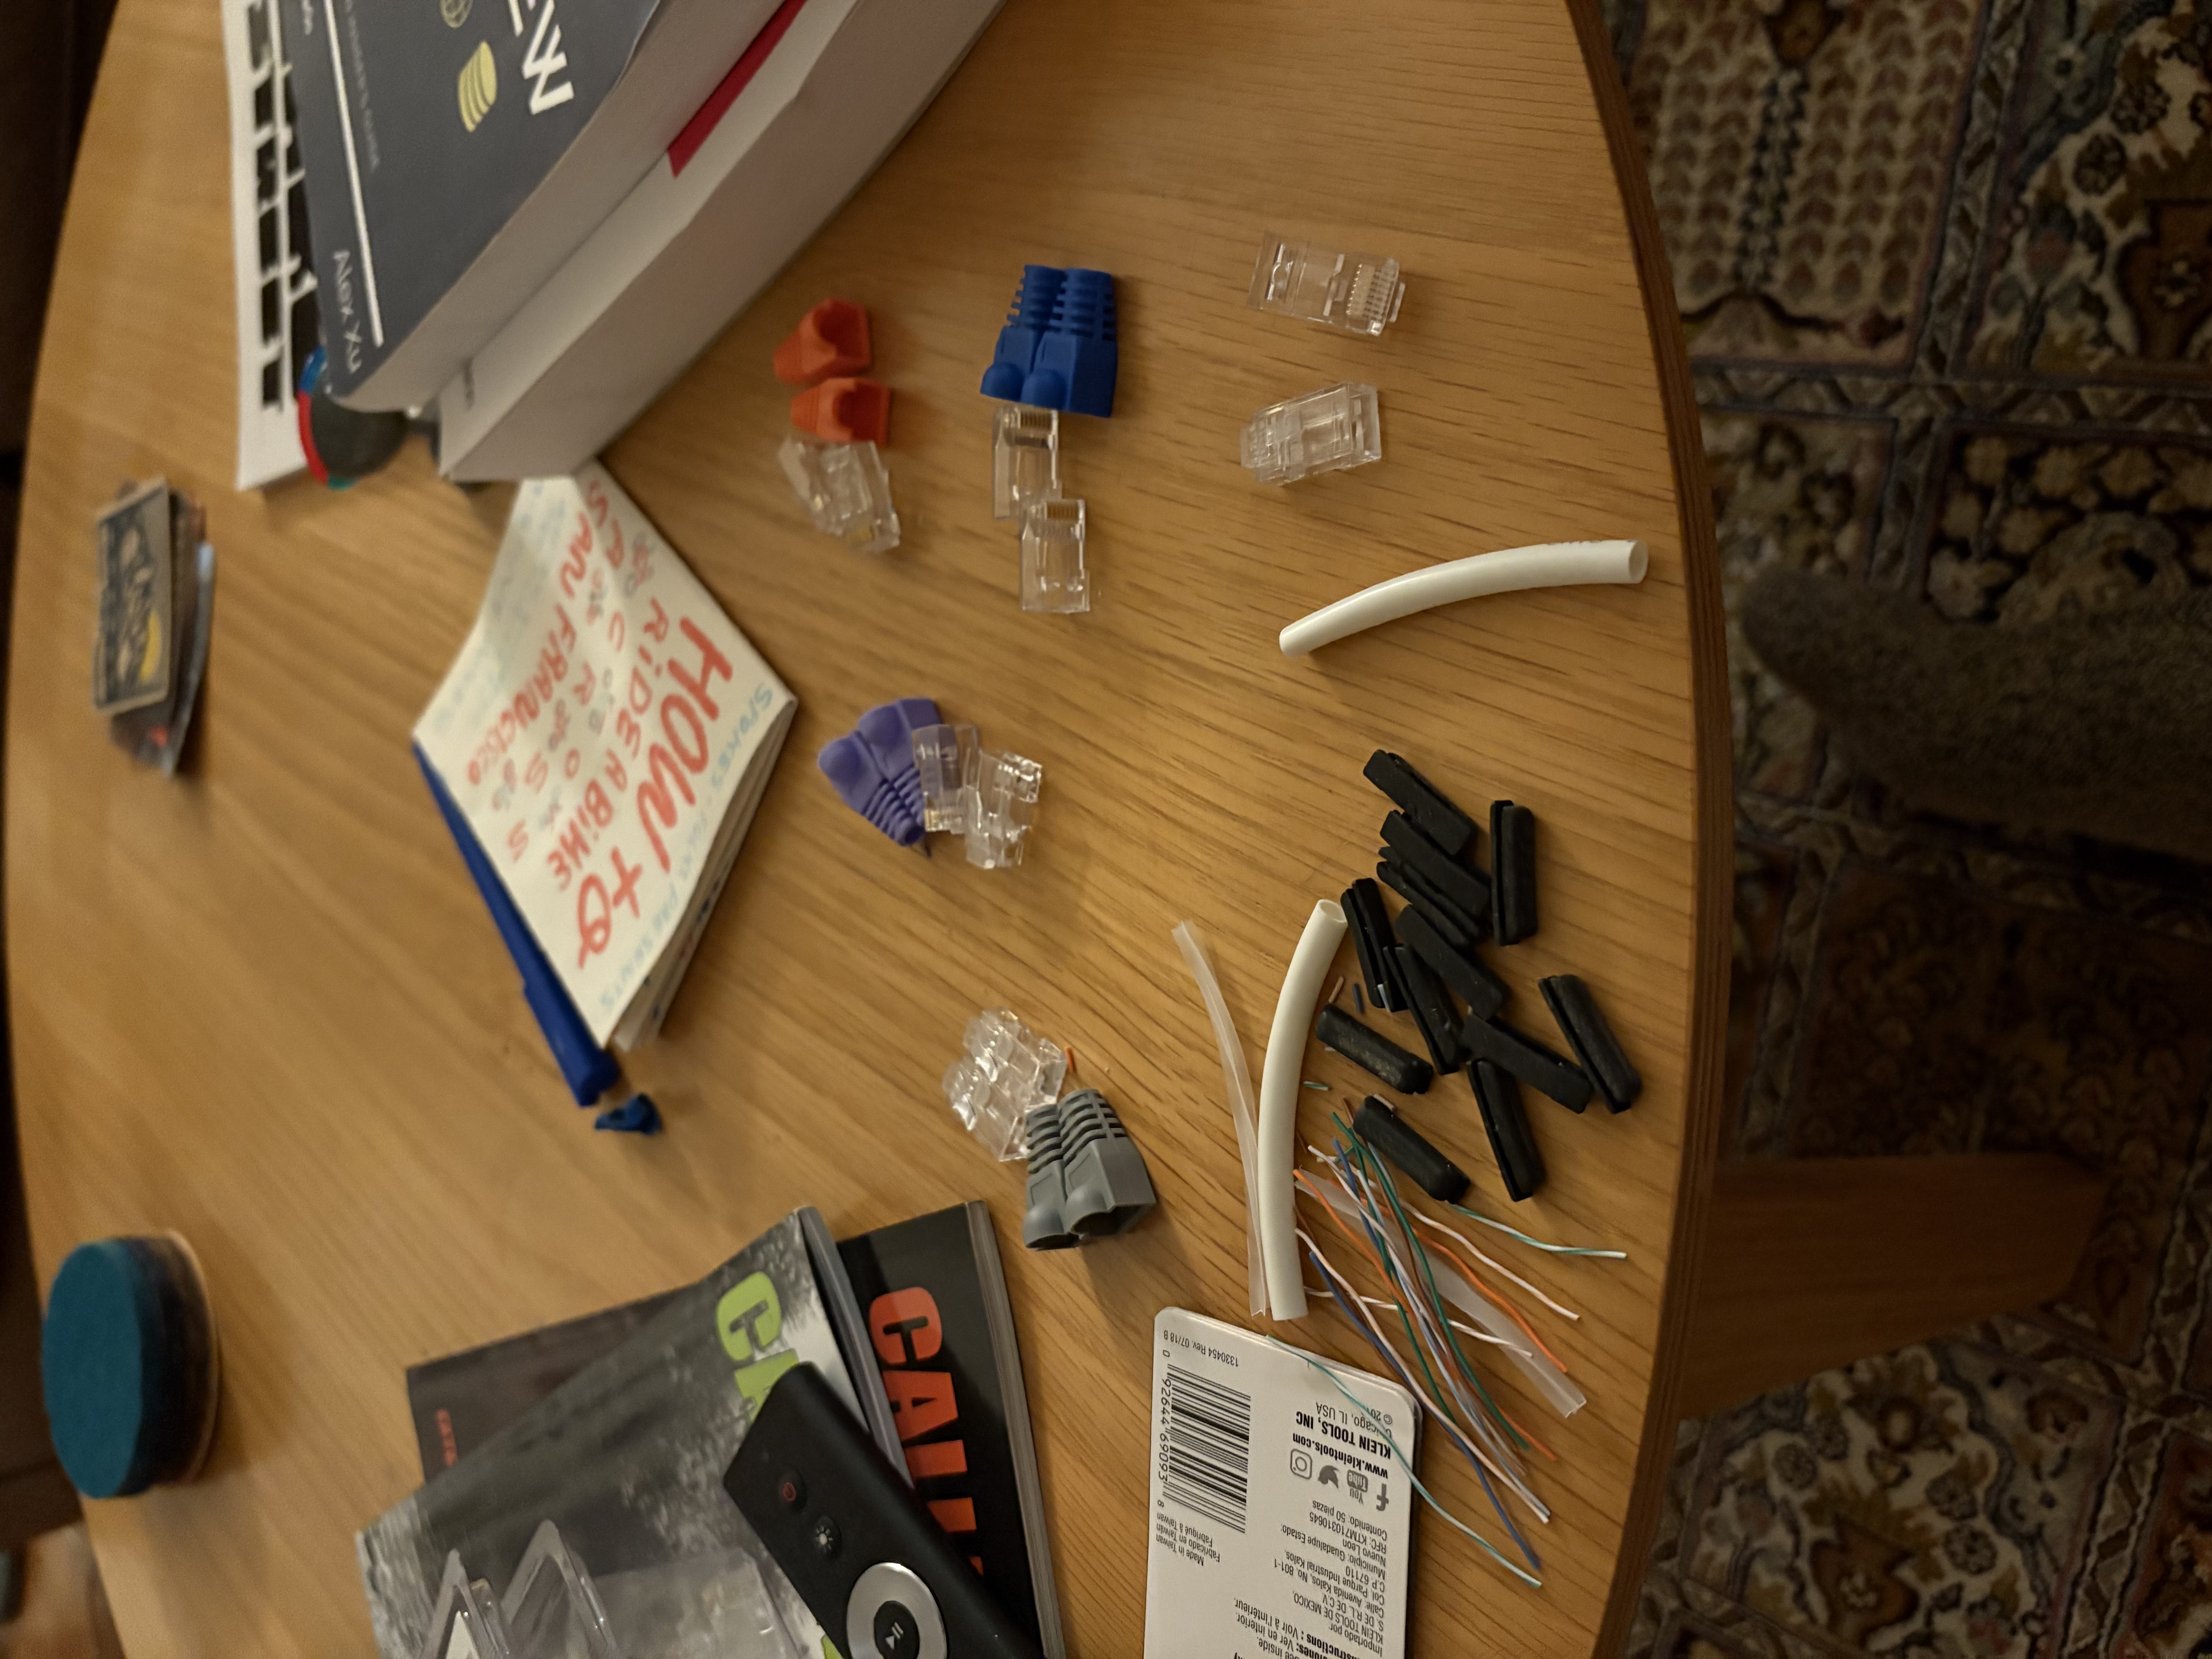
Sizing up network cables
Terminating 14-15 RJ45 connectors
Installing Talos baremetal ISOs to 6 mini PCs
Pre label maker labels, showing machine IP host suffix
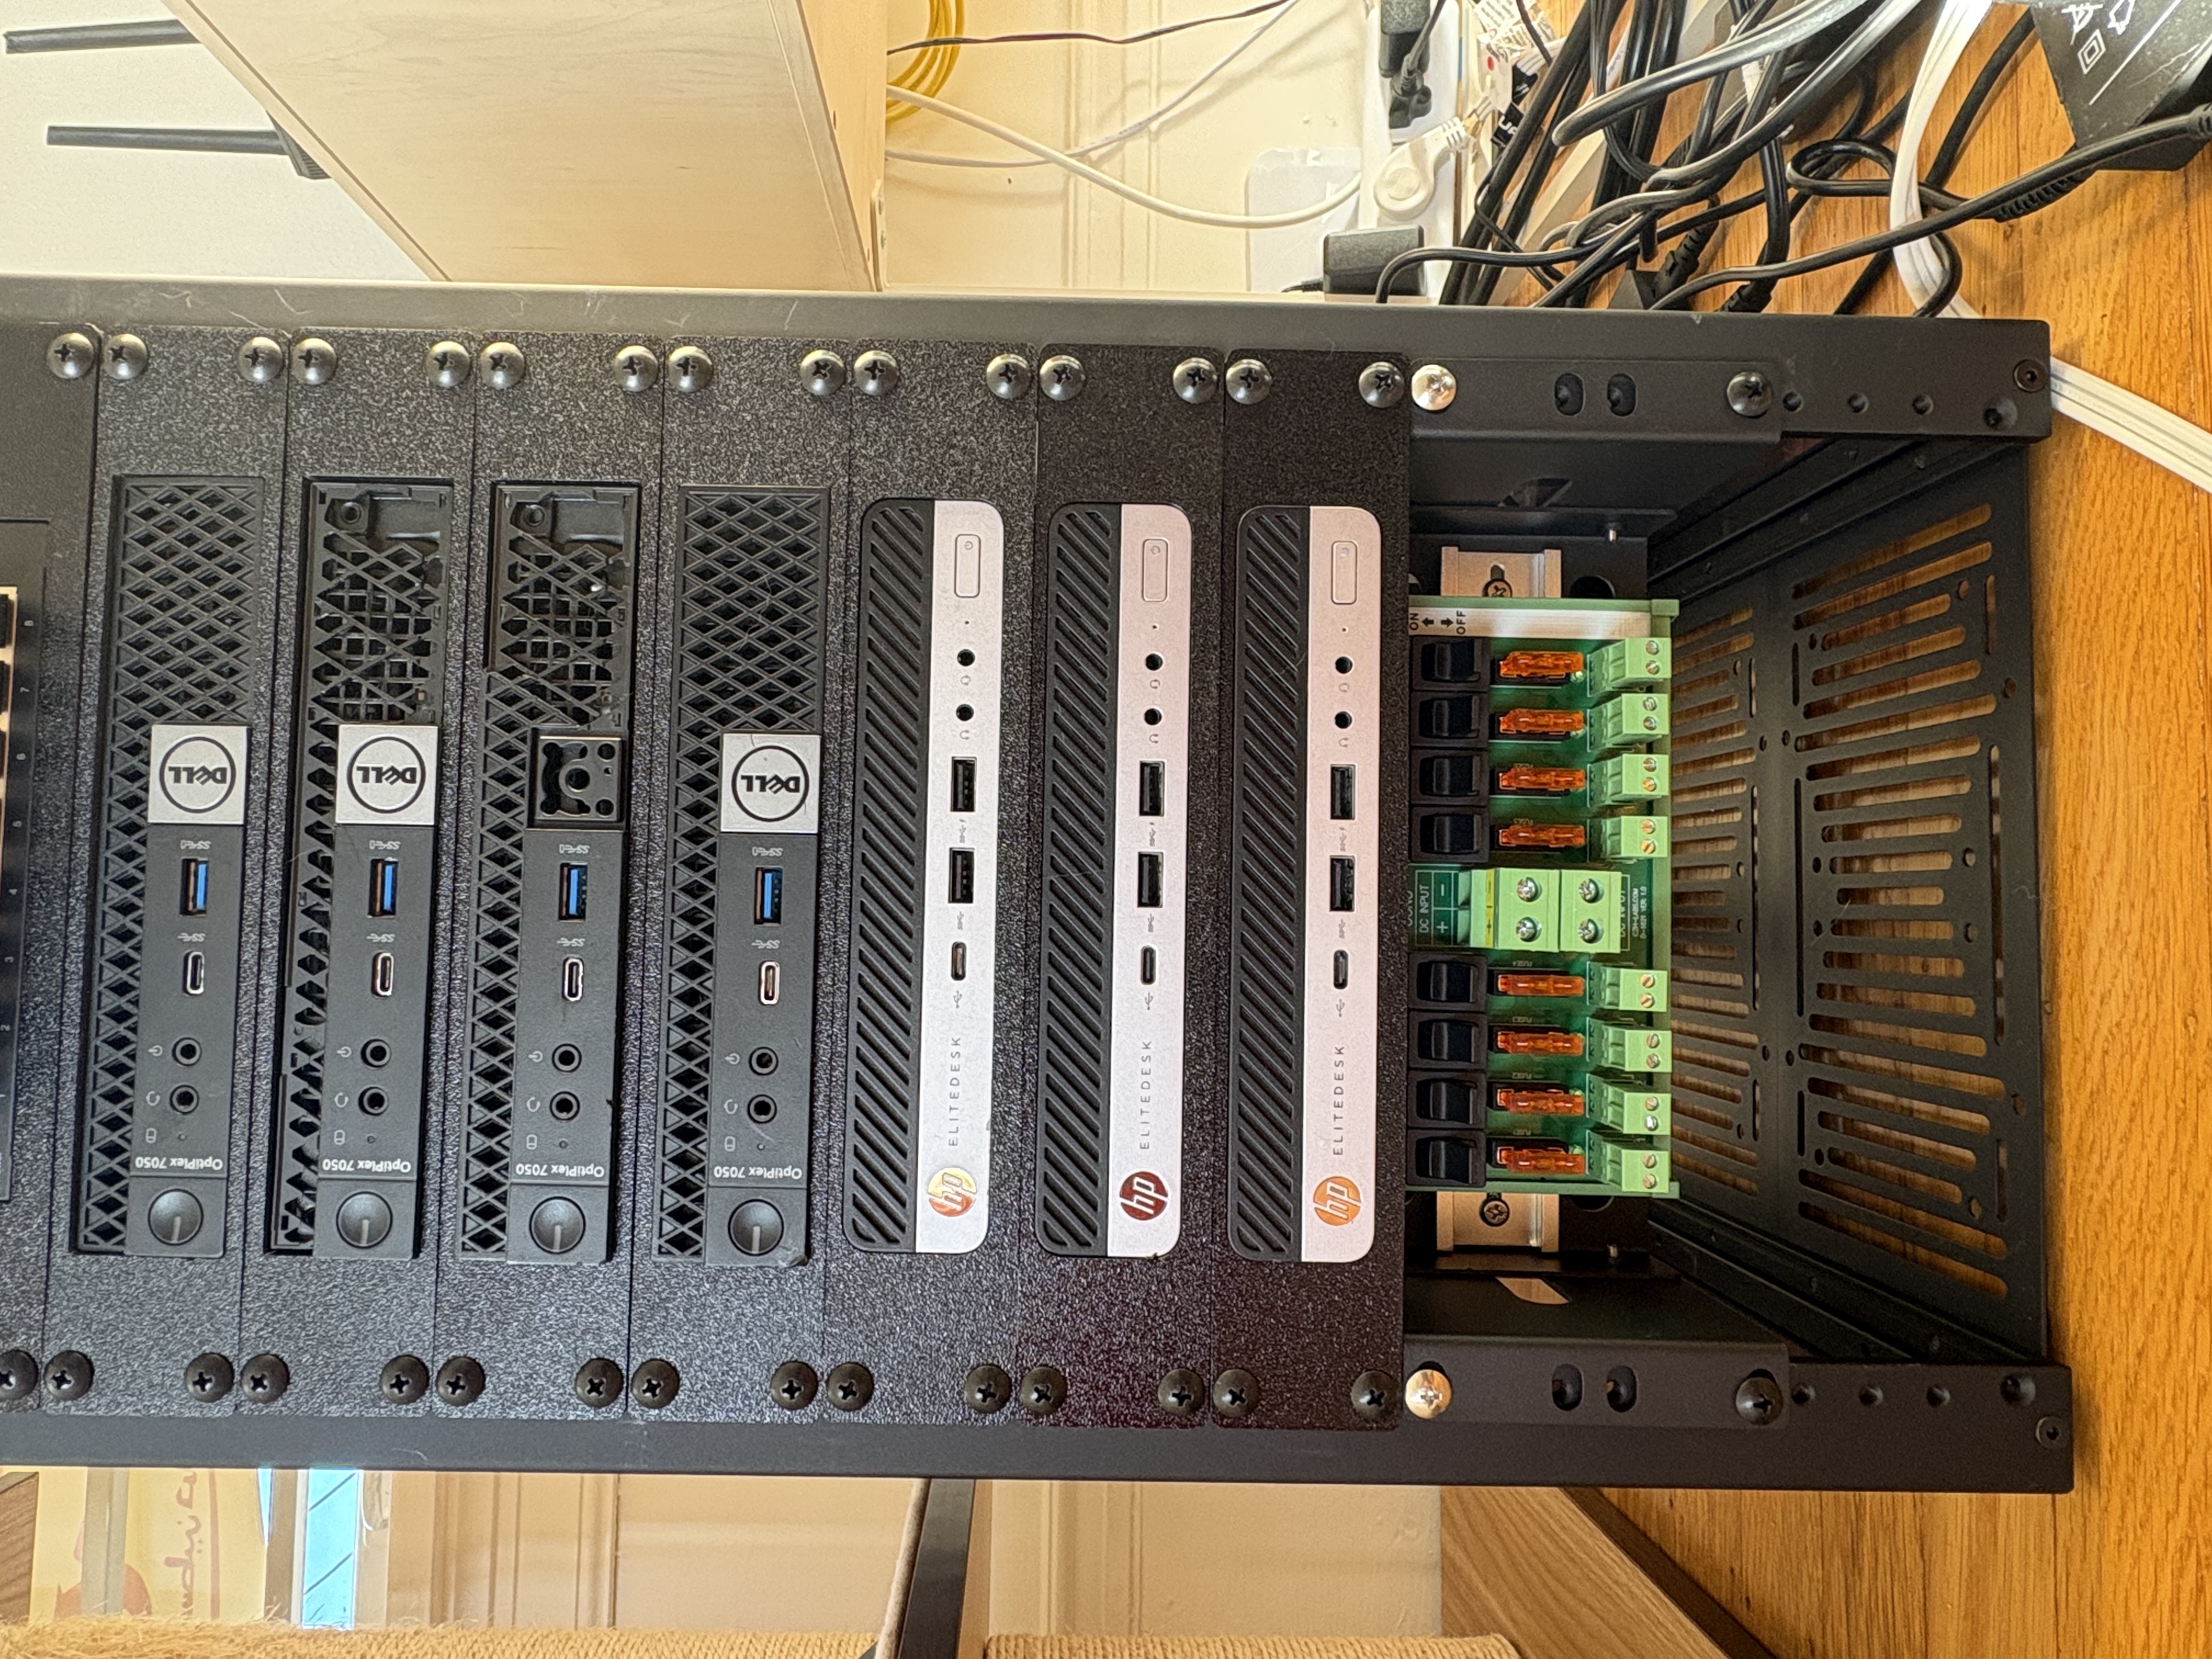
Power distribution block installed on DIN rail
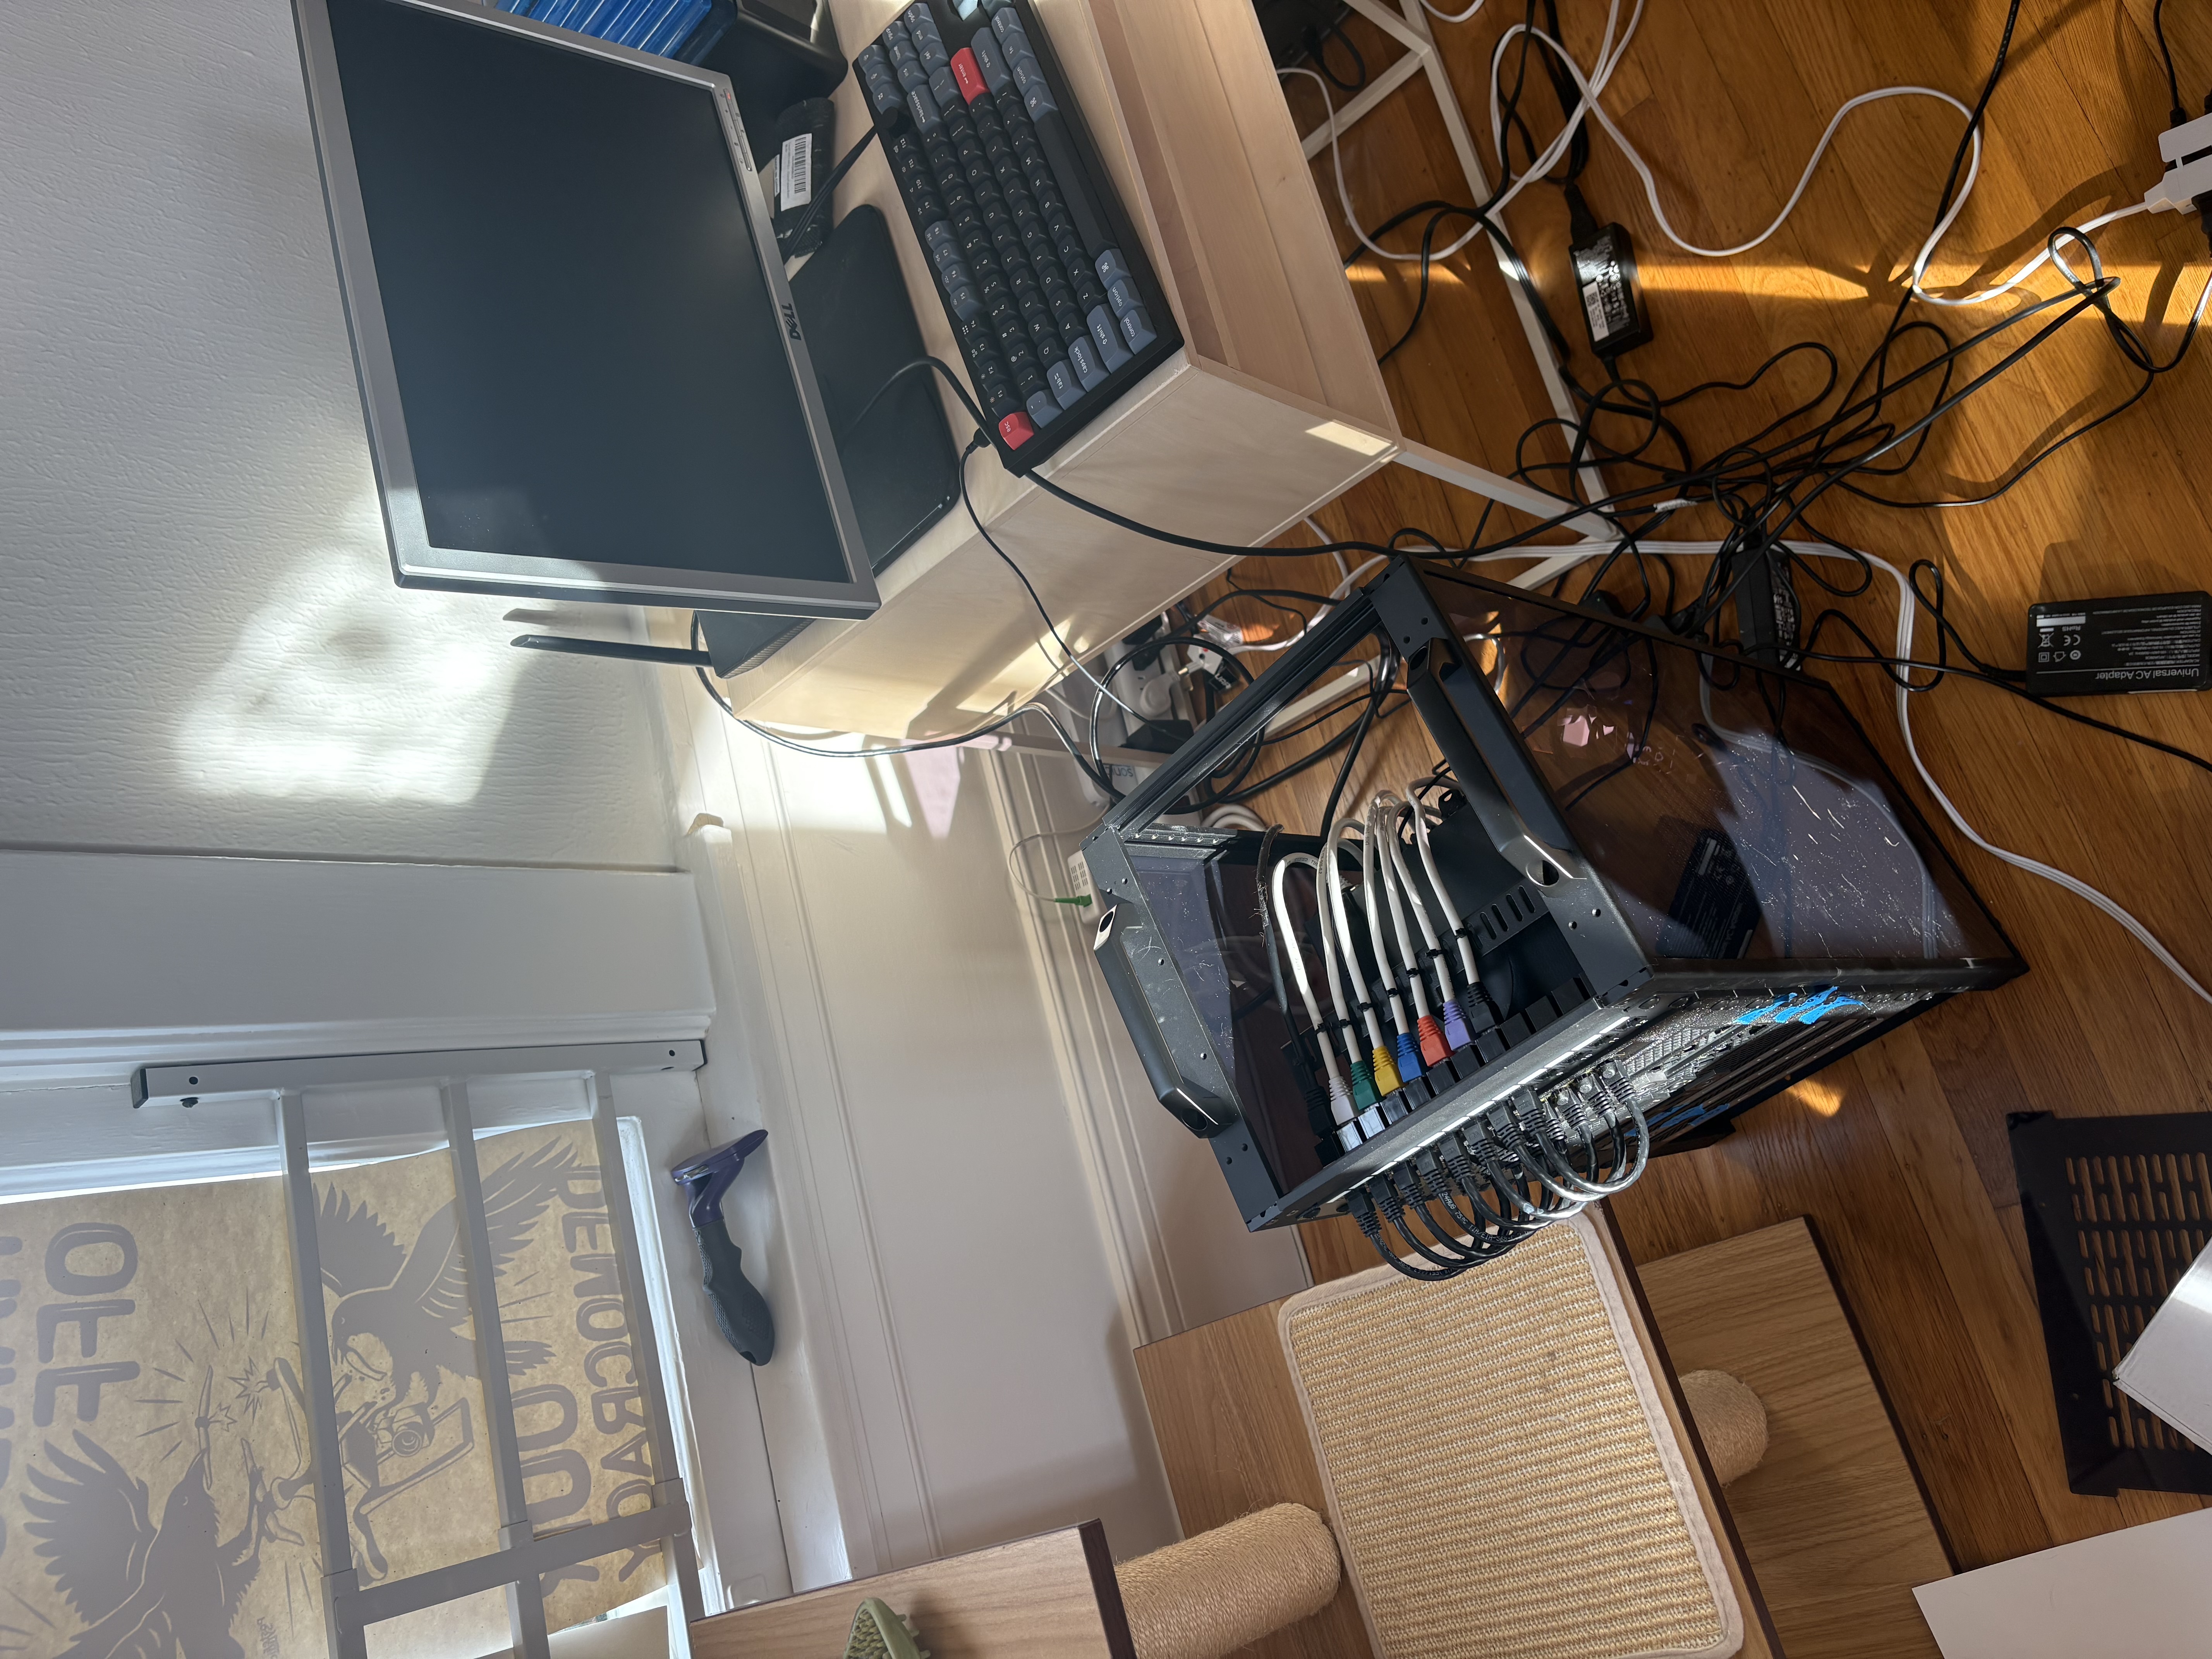
Power Supply/Cable Management
As you can see in the images above the cable management leaves something to be desired. Each of these machines has its own power supply in the form of a 19.5V “charger”, effectively. I learned the hard way that some companies, cough Dell cough, will throttle CPU if their proprietary power supply is not used. Luckily, I found 5 of Dell power supplies for these machines for a decent price at Renew Computers in San Rafael, CA.
Thankfully both the HP machines and the Dell machines operate at the same voltage (19.5V) and have similar power demands. So, I began searching for a DC power supply, so I could eliminate the need for 7 power supplies and plugs. With one power supply I could use the existing proprietary (for the Dell machines) and generic power cables, but add some crimped terminals to add to my power distribution block (see photos above).
Finding a small form factor power supply that offered the precise voltage I needed with the power output I needed proved to be somewhat difficult. I eventually settled on a TDK-Lambda CUS600M-19/EF. This power supply met all my needs: adjustable output voltage of 18.5-20.5, 400W with natural convection cooling (enough for typical operation), expandable to ~600W with forced air if needed. This power supply will support 7 mini PCs (1 Proxmox VE host and 6 Talos hosts) each with peak power output of 65W, but I’m expecting they won’t ever reach max power of 455W. Having said that I do intend to add a small fan to keep my rather pricey power supply happy.
This world of physical hardware is still a bit new to me, so I’m still trying to figure out the exact setup for the input AC power, but should begin wire strippin’ and crimpin’ soon enough!
Next post in this series will showcase the final power distribution setup and cable management. Stay tuned!